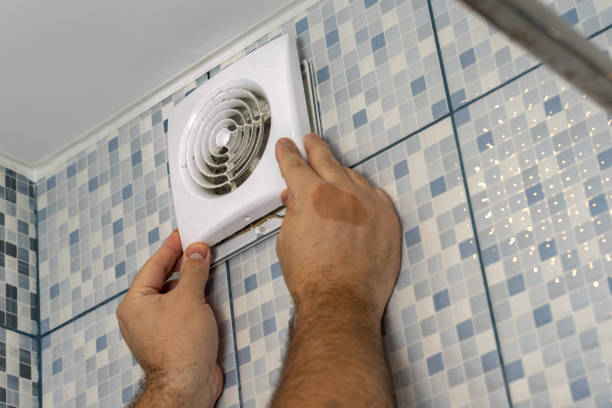
How to Vent a Bathroom Fan Through the Roof or Wall Safely

Nothing feels fresher than stepping into a bathroom that’s well-ventilated. But if your bathroom fan isn’t vented properly, you could end up with lingering odors, excess moisture, or even hidden mold problems inside your home. Learning how to vent a bathroom fan through the roof or wall isn’t just about comfort—it’s about protecting your investment. At Trusted Plumbing and Heating, we know that proper ventilation keeps your home healthier, your ceilings free from water damage, and your bathroom fresh.
Why Proper Venting Matters for Every Home
Many homeowners assume that a bathroom fan simply pushes air into the attic. Unfortunately, that’s a big mistake. Moisture trapped in the attic can damage insulation, stain ceilings, and encourage mold growth. By installing the right exhaust duct and connecting it to a safe outdoor outlet, you ensure that your bathroom air leaves your house completely. At Trusted Plumbing and Heating, we emphasize proper ventilation because it extends the life of your home and safeguards your family’s health.
Choosing the Right Path: Roof Vent vs. Wall Vent
When deciding how to vent a bathroom fan, you’ll typically choose between the roof or an exterior wall.
- Roof Vent: Often the shortest path, but it requires careful sealing around shingles to prevent leaks.
- Wall Vent: A solid option if your bathroom is located near an exterior wall, usually requiring a wall cap to keep pests and rain out.
Both approaches work, but at Trusted Plumbing and Heating, we help you evaluate your bathroom’s layout and your attic’s accessibility to select the safest and most effective solution.
Mapping the Exhaust Duct Path
Once you decide where the bath vent should exit, the next step is planning the route for the fan duct. Short, straight runs of rigid duct are ideal because they provide strong airflow and reduce condensation inside the pipe. While flex duct may be easier to install, it can restrict airflow if bent too tightly. That’s why Trusted Plumbing and Heating always recommends using rigid materials whenever possible to ensure efficient fan exhaust performance.
Cutting the Hole Safely in the Ceiling, Roof, or Wall
Creating the hole for the vent requires precision. Inside the ceiling, the fan unit connects directly to the exhaust duct. If venting through the roof, a weatherproof opening is cut near the stack or the highest point of the attic. For a wall vent, the opening must align with the wall cap outside. This part of the job demands skill because one wrong cut can compromise your home’s structure. With Trusted Plumbing and Heating, you can rely on our technicians to cut, seal, and protect every opening correctly.
Installing the Exhaust Duct for Maximum Efficiency
The heart of the project lies in properly installing the exhaust duct. The duct should slope slightly downward toward the exit to prevent condensation from running back toward the bathroom fan. Seams are sealed with foil tape (never duct tape) to prevent leaks. Whether using rigid duct or flex duct, Trusted Plumbing and Heating ensures that every joint is airtight and every pathway is clear for smooth fan exhaust.
Adding the Exterior Vent or Wall Cap
A properly installed wall cap or roof vent keeps air flowing out while keeping weather, rodents, and insects from sneaking in. For homes with a gable end, some homeowners consider venting through that area—but this must be done carefully to avoid pulling air back into the attic. At Trusted Plumbing and Heating, we install durable vents that match your home’s design while delivering long-lasting performance.
Sealing, Insulating, and Protecting the Duct
Without proper sealing and insulation, a bathroom vent can allow warm, moist air to escape into hidden areas. This can damage wood framing and encourage mold. Our team at Trusted Plumbing and Heating uses professional-grade insulation around the fan duct to keep airflow efficient and prevent condensation buildup. We also verify that the vent fan is sealed to the ceiling, preventing any leaks of air back into your living space.
Testing the Ventilation System
After installation, it’s essential to test the bathroom fan. A properly vented system should pull steam and odors out quickly. At Trusted Plumbing and Heating, we double-check every exhaust connection, ensure the airflow is strong, and verify that the bathroom vent is performing at its best. This final step gives homeowners peace of mind, knowing their home is protected from excess moisture.
Common Mistakes Homeowners Make
Many DIYers learn how to vent a bathroom fan the hard way—by realizing mistakes months later. Common issues include:
- Venting into the attic instead of outside.
- Using long, winding runs of flex duct that restrict airflow.
- Forgetting to slope the duct to drain condensation.
- Failing to seal around the hole in the roof or wall.
By trusting Trusted Plumbing and Heating, you avoid these costly missteps and get a system that’s built to last.
Breathe Easy with Trusted Plumbing and Heating
Knowing how to vent a bathroom fan properly makes all the difference between a fresh, dry bathroom and a hidden moisture nightmare. Whether you’re dealing with a stubborn ceiling fan, planning a remodel, or simply want to upgrade your ventilation, the experts at Trusted Plumbing and Heating are here to help. Call us today and let our team bring safe, efficient airflow back into your home—because your bathroom deserves to breathe easy, too.

